Wednesday, August 13, 2014

Rozetti Polaris Shawl

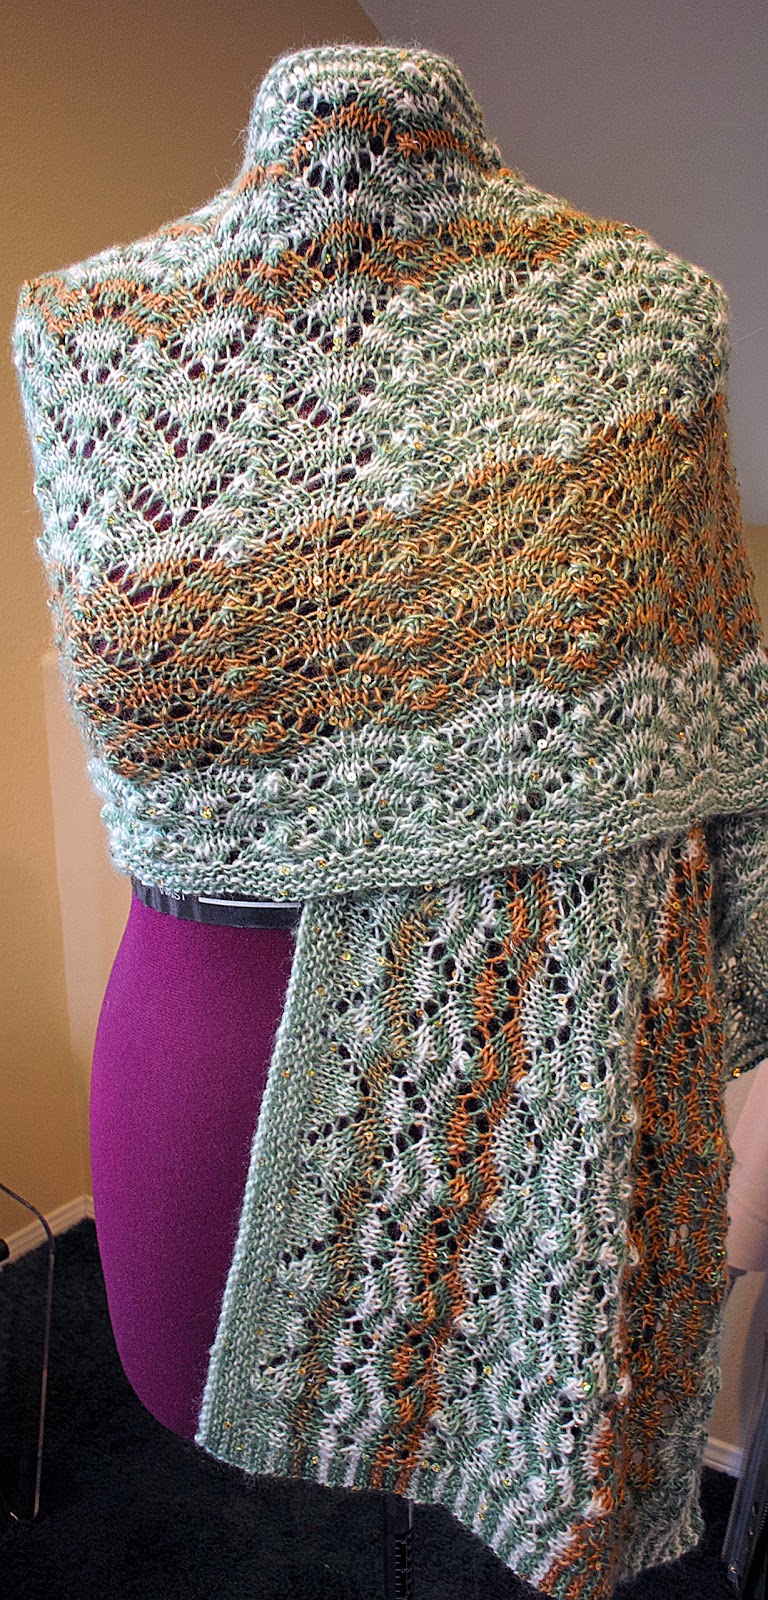
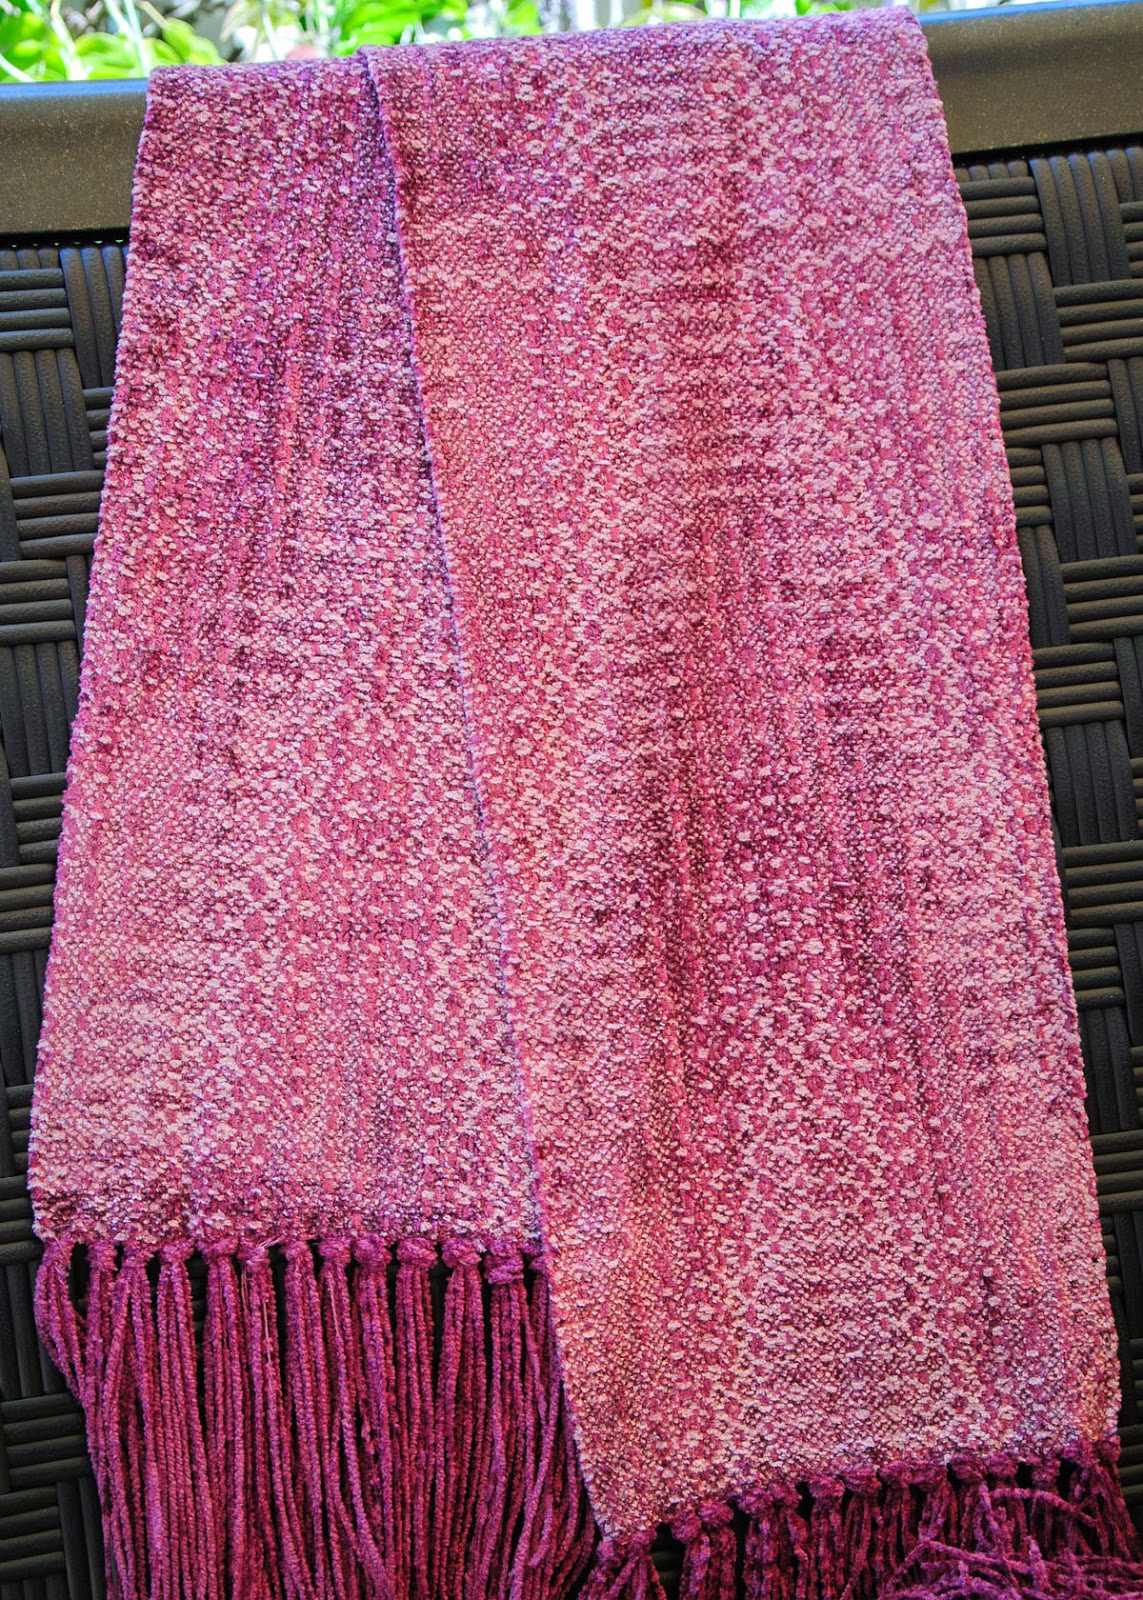
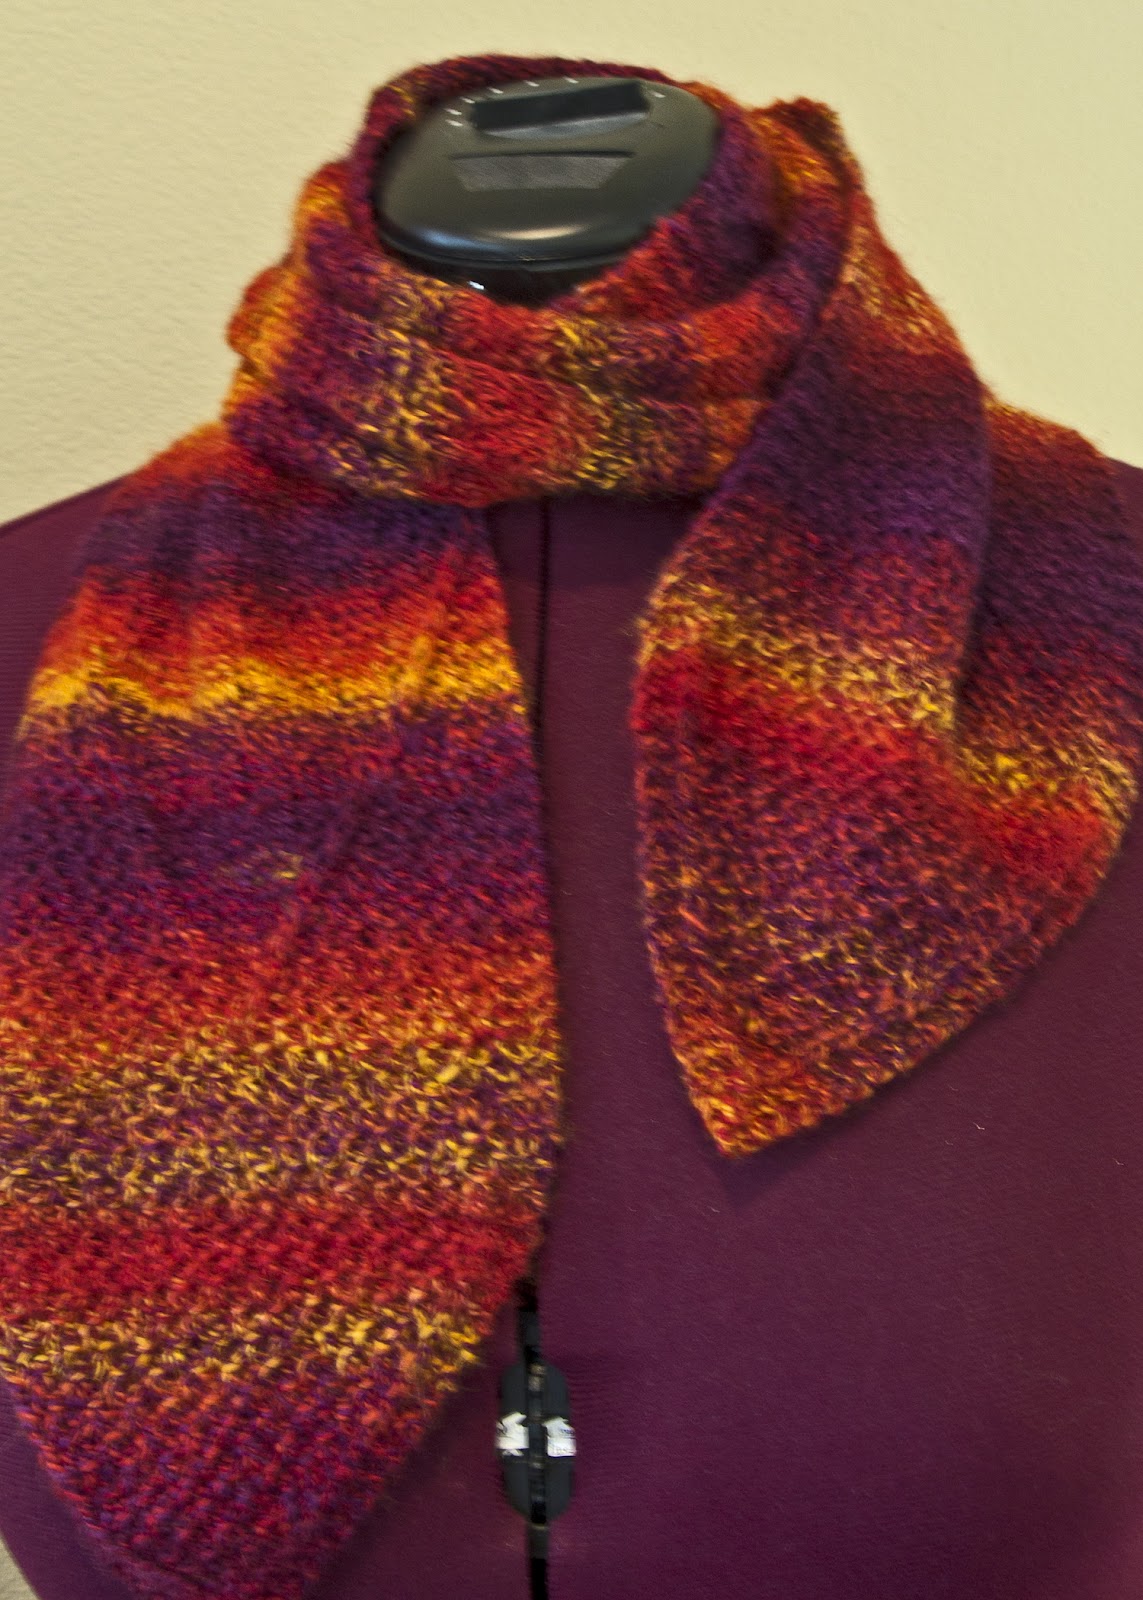
Shawl wrapped on dress form

On a recent trip to Tuesday Morning, I rummaged through their yarns, which was interesting, since they were in the bottom-most shelf - a very deep shelf.  So I just sat on the floor of the store and reached in, turning things over, moving skeins and balls of yarn all around.  And then, all of a sudden, I spotted a very pretty ball of Rozetti Polaris yarn - a soft and squishy ball with a lovely hand.  It is 65 percent acrylic, 31 percent wool and 4% sequins.  It feels a little like a wool and mohair yarn.  That particular ball was in a green and white colorway, Pisces, No. 71007.  I fell in love with it almost immediately.

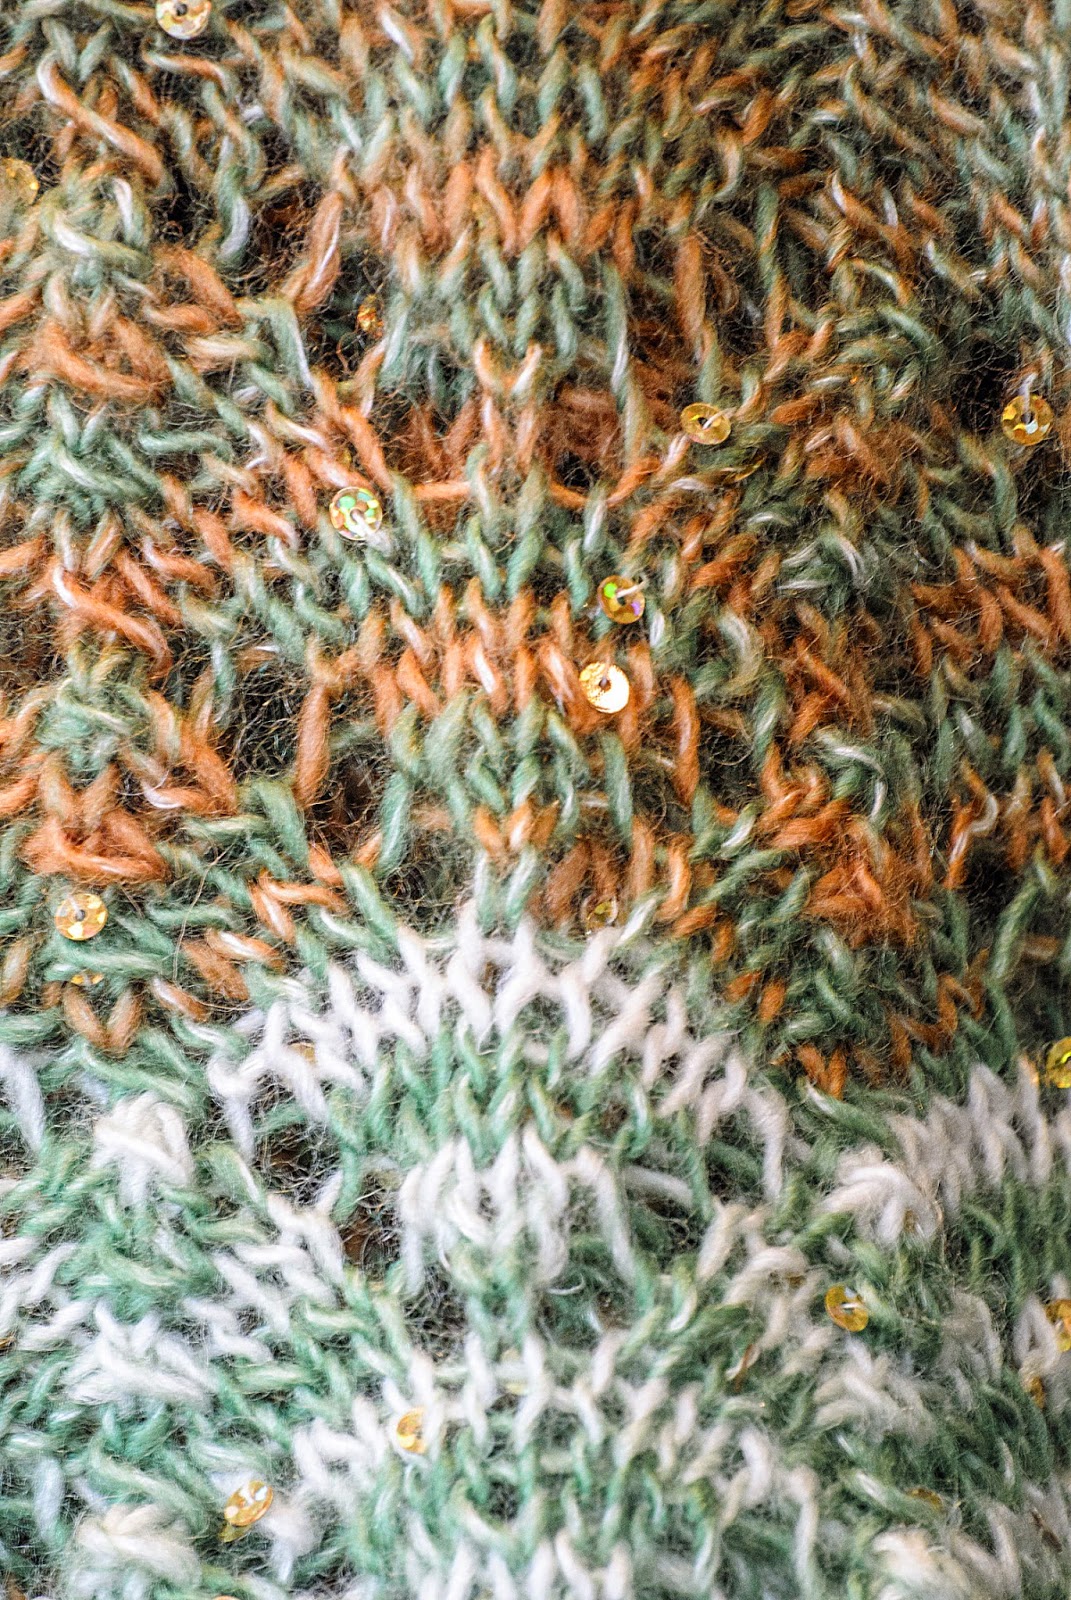
Shawl wrapped differently

Knowing that I could not do much with one ball, I searched and searched for another but could not find one, whereupon I enlisted the aid of a worker at the store. She unearthed one more, at which point I noticed another colorway, the rust and green, Virgo, No. 71008.  Again, only one ball.

For those who are not familiar with Tuesday Morning, it is a retail liquidator of household items.  I immediately purchased the three balls of yummy yarn for about $3 apiece.  They sell for about $8.50 apiece at retailers who carry them.

I immediately went home and looked up patterns for this lovely yarn, thinking perhaps a pair of socks or a hat and fingerless gloves or a scarf.  But what I found when I Googled the yarn was this lovely shawl in two colors.

Hmm, I needed more balls of this stuff.  One more Pisces and one more Virgo.  Lo and behold, Jimmy Beans Wool in Reno, NV, had both.  I live in Southern California, so the closeness of the Reno store appealed to me and I immediately ordered the two balls of yarn and, then, sat down and sampled the lovely lace pattern in this shawl to decide on needle size.  I usually have to size down one size, but upon making my sample, I ended up using the recommended US Size 8 needle, a 42-inch Hiya Hiya metal needle.

This pattern has a multiple of 10 stitches plus 1, but it is knitted horizontally, meaning I had to cast on 291 stitches.  That is a ton of stitches, but the shawl worked up fairly fast, and the pattern became quickly memorized and was easy to follow.

When I was finished with it, I began to wonder how the heck to block it.  Should I block it like an acrylic or like a wool yarn.  I decided to put it on a blocking board (half of it, that is - it is about 77 inches long) and spritz it with water, pinning out the one edge that wanted to curve, just a bit.  I patted the water into the yarn, smoothing out the decrease bumps, and left it to dry.  Hmm, the wool part was still pretty bouncy and the bumps were too noticeable. So I pulled out my steamer and carefully steamed half of it - steaming and patting, then left it to dry again.  Success!  I repeated that process with the second half, after which my shawl had grown a bit to just under 80 inches, but I had expected that, since I was trying to relax the yarn and open up the lace.


I am not sure the rust and green (same green, mind you) really works in this, but I like it anyway and will use it on my next cruise.


Monday, February 24, 2014

6-Shaft Flowers in Slubbed Tencel and Rayon

If you read my last post, you will know that I have not been weaving or spinning for a bit, but I finally managed to finish a project I started last summer, that had been sitting on my loom being ignored or, rather, just admired.


This started with a draft I downloaded from www.handweaving.net, Draft 49712.  It is only 6 shafts, in an advancing twill pattern, which I changed very slightly to make it work for me.


The next step was deciding what colors to use and what yarns I could use from my stash.  I was determined not to purchase any new fiber, since I have way too much for my own good.  I settled on a slubbed Tencel I had purchased some years ago to make some yardage for a top, which I have not worn in a while.  While making that project, I actually had to purchase a little more Tencel to finish all the yardage for this top, so I was left with one large cone and one medium-sized cone.  I had two colors of turquoise and one of rust, the latter of which had not been used in the top.  I decided to use one of the turquoises and the rust for the warp and decided to use an off-white 10/2 smooth rayon yarn, that I also had in my stash, for the weft.


I tweaked the pattern in Fiberworks until I had it where I wanted it and to an appropriate width for a scarf at 24 epi, using a 12-dent reed.  Because the weft was not quite as hefty as the warp threads, I ended up weaving it at somewhere around 28 ppi, which gave a fairly balanced weave.  I call this draft 6-shaft twill flowers, because it reminds me of the little flowers on my tea trees in the backyard.

It never ceases to amaze me how much patterning one can get from so few shafts. Of course, this is especially true of crackle weave and summer and winter, not so often true of twill.

Once done with the weaving, I hemstitched the end, twisted and tied the fringes and put the scarf on a delicate cycle in warm water with my wool wash to help settle all the threads, so I could cut off the ends where I had started and ended the second pirn in my shuttle.  I did not completely dry it in the dryer, but hung it to dry the rest of the way, then ironed on a low setting but with steam, to bring out the silk-like sheen, bringing it back to its original width with only a very slight loss in length. It is about 66 inches end to end without the fringe length, which adds another 10 or 11 inches, and just shy of 7 inches in width.


Now I have to think up another project!  Maybe it is time for a 16-shaft pattern, since my 16-shaft table loom has been sitting idle too long.

Huge skein of 2-ply yarn on one gigantic bobbin spun on Hansencrafts Mini Spinner

I have been going through a dry spell regarding spinning and weaving.  Purchased a new Bernina sewing machine last summer and have been exploring all of its many possibilities as much as I can.  Updated my Bernina software about a month prior to that and had many, many lessons to work through to get the hang of it.

Remaining Fiber with Inglenook Fibers Label
However, this past week, with sewing machine in the shop for an update and upgraded part, I returned to spinning and weaving.

To begin, I had purchased a couple of beautiful rovings from Inglenook Fibers, one of my favorite Etsy shops.  The first was almost entirely rust-colored, a Fawn Alpaca/Silk, 70/30 combination.  I plied that with a multi-colored singles yarn that was Merino/bamboo/tussah silk, 50/25/25 combination.  I used all 4.1 ounces of the alpaca/silk and about 4.2 ounces of the merino/bamboo/silk to create a 2-ply yarn that is 7.2 ounces - I know that does not compute, but after washing, that is the final weight of this skein of yarn.  This skein is about a DK weight of 562 yards, the longest skein I have ever spun.


This was a bit of an experiment, because my wonderful hubby purchased an electric Hansen's Mini-Spinner in walnut last summer at Black Sheep Gathering in Eugene, OR, much to my surprise and delight.  He purchased it with their new lace flyer assembly, which has wonderfully lightweight draw-in. However, being used to my WooLee Winder on my Schacht Matchless wheel, I almost immediately contacted Nathan Lee of WooLee Winder, to see if he had one available in walnut for the Mini-Spinner.  He immediately shipped me off one.  When I received it, I was amazed at the size of the bobbin's almost 10-ounce capacity and decided to put it to the test, which is how this project came to mind.  I had about a fourth of the bobbin left that I could have filled with even more fiber and had absolutely no issues with plying from start to finish.  My only issues were actually since I hadn't spun much in a while, re-educating my hands to the art of spinning.


Now I have to find a project to use this yarn!


Finished Skein
For those who do not spin yarn, it is very Zen-like and meditative.  This skein, while not perfect, is so amazingly soft, and I have a feeling that it will bloom because of the alpaca fiber in whatever project I use it in, developing a soft halo of fiber over time.

Wednesday, April 24, 2013

Crackle Weave Scarf

Sometime ago, I downloaded a crackle weave draft from www.handweaving.net and played around with it a little bit, by changing the colors, adding a thread or two to balance the draft, etc.  Periodically, I would pull it up in Fiberworks and look at it, think about what fiber to use to make a scarf out of this rather interesting draft.  Trying to be a bit frugal, I looked at all the cones I had available to me at home and decided upon two chenille cones I'd purchased quite a few years ago, that I thought might work for this pattern.
Draft with Yarns

Now, this draft looked gorgeous on paper, but I had never woven crackle before, nor tried it with chenille, which I hadn't woven with in years.  This was a 1300 ypp rayon chenille from Webs.

As I began to weave this drawdown, I was really disappointed, because it was quite difficult to actually see a pattern in the fuzzy chenille, but I decided to finish up the scarf and, then, maybe try this drawdown with a different fiber, like cotton or silk or a wool/silk blend.


Closeup of Scarf - Note Collapsed Structure in Center

I also forgot to weave an inch or two of plain weave that I could have picked out after wet-finishing, so I gently tied the fringe ends in several overhand knots for wet-finishing and put it in my front-loading washer on the handwash cycle and then into the dryer for about 15 minutes on the lowest setting.  To my surprise, the weave structure collapsed.


I liked the new texture, a little like seersucker, but I was surprised, since both the warp and weft are the same fiber, although different colors.

Then, I had an "aha" moment and realized the reason I'd created a collapsed weave structure was because of the different lengths of the floats, much like waffle weave.

Scarf on Patio Chair


At any rate, I decided to gently press the entire scarf on a low heat setting of my iron.  After finishing that process, I noticed there is still a slightly collapsed structure, but the pattern is much more readily discernible.  So I'm happy with it, after all.

Weaving is so fascinating, because there is always something you learn from every project.


Thursday, January 3, 2013

Field trip to Kingman, AZ

Upon reading the last issue of Spin-Off Magazine, I noticed a listing for a spinning, weaving and knitting store in Kingman, AZ. I made the decision that the next time I got out to Lake Havasu, AZ, I would make a little field trip to The Spinster, in Kingman, about an hour from Havasu.

Today was my chance to get there. What a lovely little shop! Of course, I had to purchase a little more yarn and a couple of buttons, but I managed to not go home with more spinning fiber, although a beautiful curly maple drop spindle almost attached itself to me.

This is a very friendly yarn shop, and I had fun talking with the owner while I perused all of her many yarns, beautiful drop spindles, spinning fiber, etc.  She had a really beautiful one-off spinning wheel in the store window, which we discussed because it intrigued me.  And it even came with several extra bobbins and its own built-in lazy kate.  This is a very inviting shop.


Yarns I purchased at The Spinster


Even my husband enjoyed visiting in this shop with me.  As I said, it was a very friendly shop, and the drive up Highway 40 from Lake Havasu was lovely, especially the area just before you arrive into Kingman from the west - truly gorgeous rock formations.

If anybody is out near Kingman, they should drop by this very friendly little shop in the Old Town section on 4th Street
Beautiful buttons purchased at The Spinster

Sunday, September 2, 2012

Summer Project - Scarf

Scarf on Dress Form


As my last project this summer, I decided to make a scarf from one of the One-Skein Wonders books, using a skein of Blue-Faced Leicester handspun yarn that I had spun on my Schacht DT Matchless spinning wheel from a a roving I had purchased last October at the Fiber Arts Fiesta held at the Antique Gas & Steam Engine Museum in Vista, CA.


I interrupted this project several times to finish up other projects, like a baby sweater for a friend whose daughter was pregnant with her first child, so it took awhile to finish.


Scarf with Remaining Ball of Handspun Yarn
This is one of those patterns that begins with a provisional cast-on, so I just crocheted a chain with a contrasting smooth yarn and picked up the little bumps on the crocheted chain.  I chose that method because it is easy, meaning I do not have to look up any instructions, and because it is very easy to remove when you need to place the stitches back onto the needle for finishing up the other end of the scarf.


Nancy Roberts Knitting To Dye For II

Machine Knitted Blanks and Hand-Knitted  Socks
My followup project for Nancy Roberts' Knitting to Dye For workshop at Convergence in July of 2012 in Long Beach, CA, was sock blanks, which I knitted the first day of her workshop but did not have time to dye in the workshop.  So approximately a week or two following the workshop, I went to my friend Lori Lawson's home to do the dyeing.  She has an entire workroom set up for this for her business, Capistrano Fiber Arts, and allowed me to use her facilities to dye my sock blanks.  My heartfelt thanks to Lori.

I had intended to do an Arizona sunset colorway, purple to orange in three steps, so purple, red, orange, but when the colors dried, I had purple, orange and gold.  Next time I will test the colors, let them dry, and then make my choices, since the colors have a way of changing slightly upon drying.

I dyed these blanks from the purl side, but I should have flipped the blanks over and added dye on the knit side of the fabric.  However, I like the slightly heathered effect I got by not doing that.

Nancy gave the class a sock pattern which called for 8.5 stitches per inch on No. 1 double-pointed needles, but since I knit a bit loosely, I would have had to go down to a No. 0 needle, and the resultant fabric was just too dense, let alone the fact I was having trouble with my fingers going numb while trying to hold such tiny double-pointed needles. So I opted to make my favorite sock pattern from the Socks Socks Socks book, Retro Anklets, elongating the leg a bit.  I actually think I have enough yarn to make another pair.

Next time I try this process of knitting blanks, dyeing them and knitting this particular sock pattern, I will make fewer machine knitted rows on my blanks in between the marker rows - roughly half the number, so that I get shorter stripes on this pattern.  Nancy's pattern called for 72 stitches to cast on, whereas this pattern calls for 60 stitches per row, thereby making deeper stripes.

Nancy is a wonderful teacher, and I learned so much - not about the knitting machine, but about planning a project to dye for and about dyeing with colors of vastly different values.  I think next time around, I will use more gentle graduations between colors.